Still chuggin’ along on my 2014 project life, and learning a bit more about works and doesn’t work for me! I have loads of project life layouts to show you and then I will share a few tips I’ve learned over the past month as well!
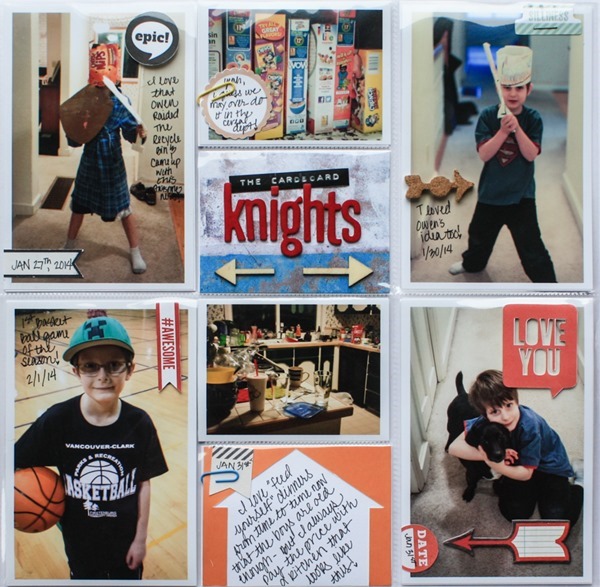
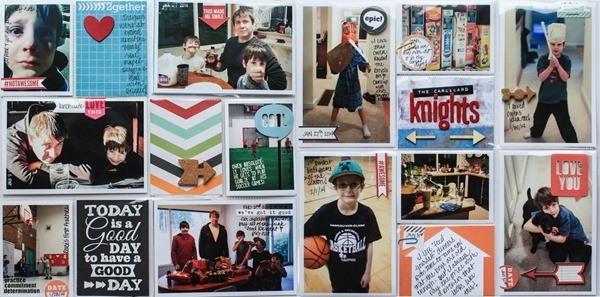
Week 5 – This week is sort of a mish mesh of different cards and elements, but I think it turned out with a really eclectic, fun feel!
Left side:
Right side:
full:
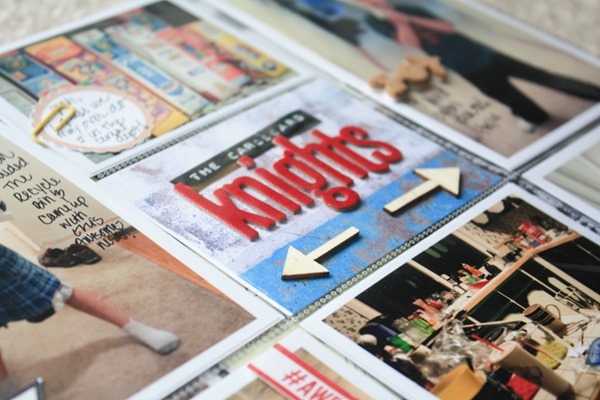
One of my favorite parts is the little “cardboard knights” title card I made!
Credits: All of the journal cars are by me, and part of my “Mix ‘n Match Journals”, printable speech bubbles from “All the Little Things” , hashtag labels, folder tab and “epic” circle are from my printable “A Little Bit of This” collection, includes date circle lables and tabs from Zoe Pearn, and the “I Love This” arrow from my “A Happy Family: Lovin’ Life” kit with Traci Reed.
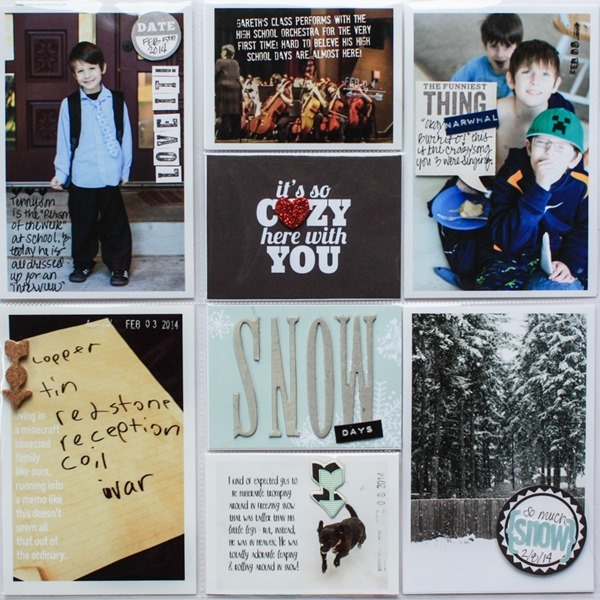
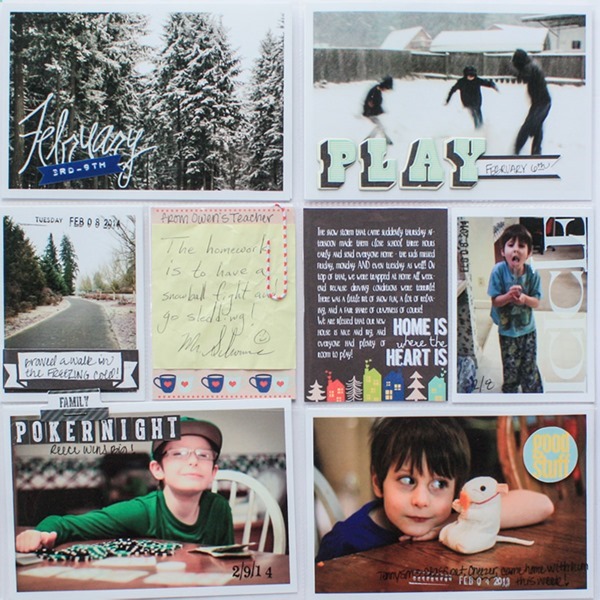
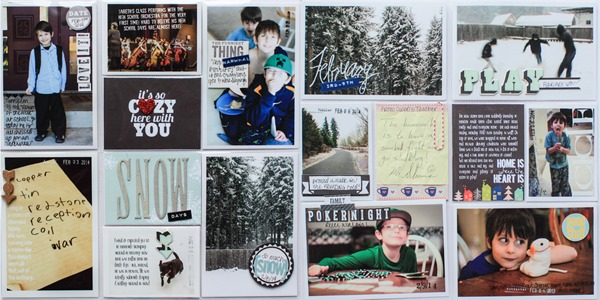
For week 6 we had a snow storm! A rare occurrence around here and a perfect chance to use my A Happy Family: All Bundled Up collection with Traci Reed!
Left:
Right:
Full:
In addition to “A Happy Family: All Bundled Up” I used some more of my printable “A Little Bit of This” collection and few pieces from my “59 Smash Up” elements.
You can see in this layout I did a bit more pre-planning, and added text to some of my journal cards and pictures, it took a little bit of pre-planning, BUT assembling the layouts was way quicker… so I think it paid off.
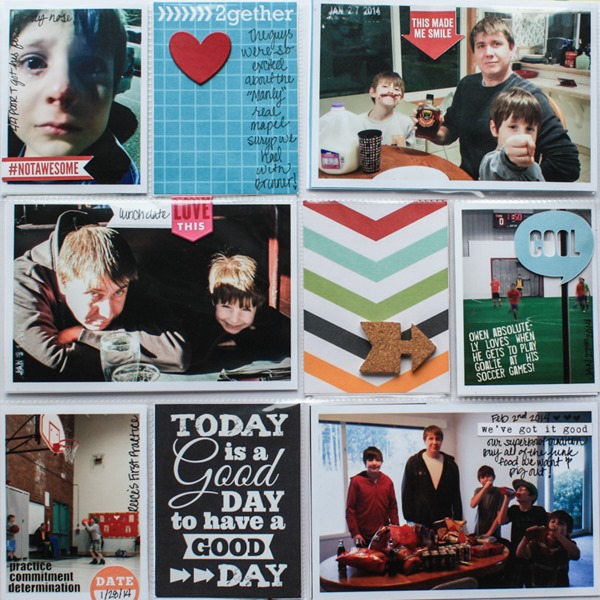
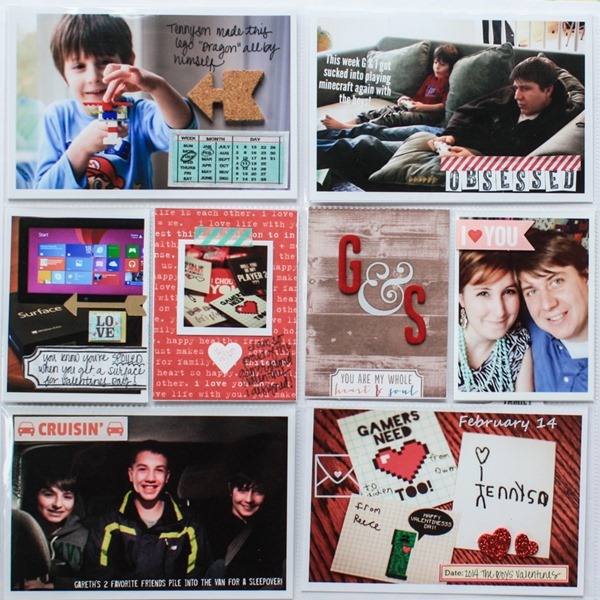
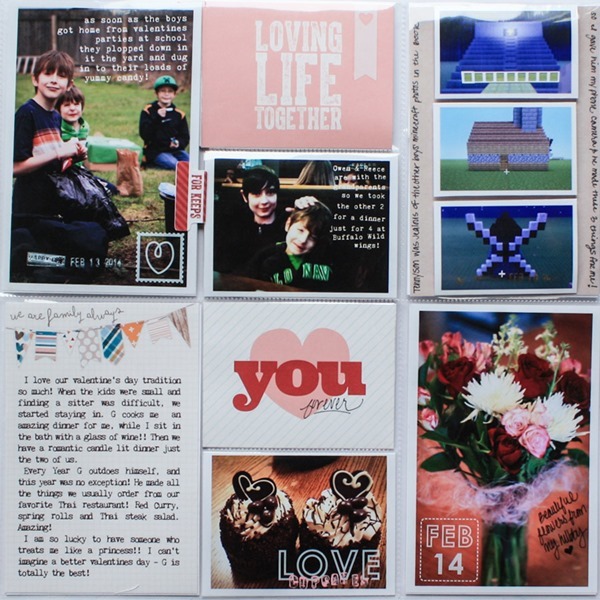
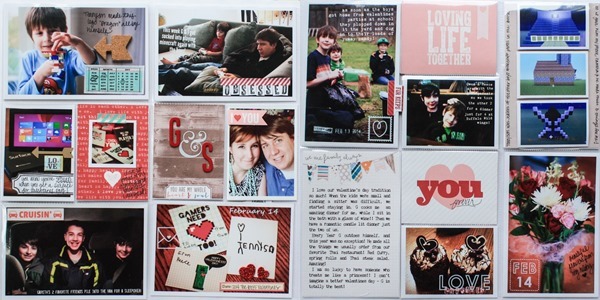
Week 7 was valentines week <3 This is my February collection with Traci, “A Happy Family: Lovin’ Life”.
Left Side:
Right Side:
In addition to “A Happy Family: Lovin’ Life” I used some more of my printable “A Little Bit of This” collection and few pieces from some other random things, as well as some rubons and alphabets from my paper stash.
You can see my valentines journaling was super long so typing it on the card before printing saved me some hassle here too.
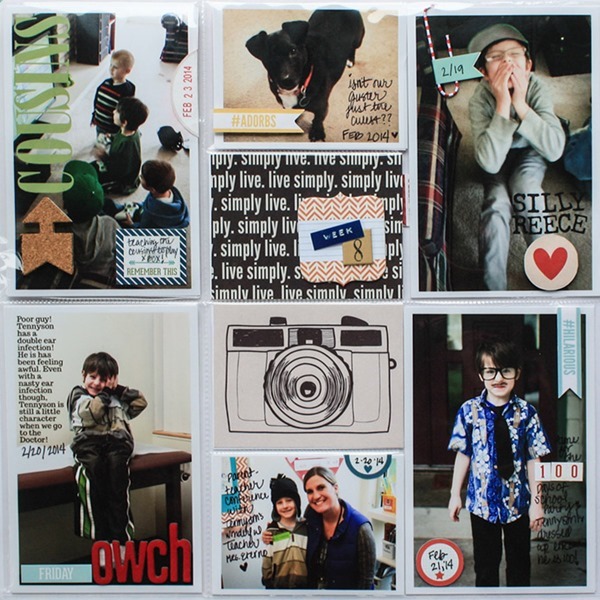
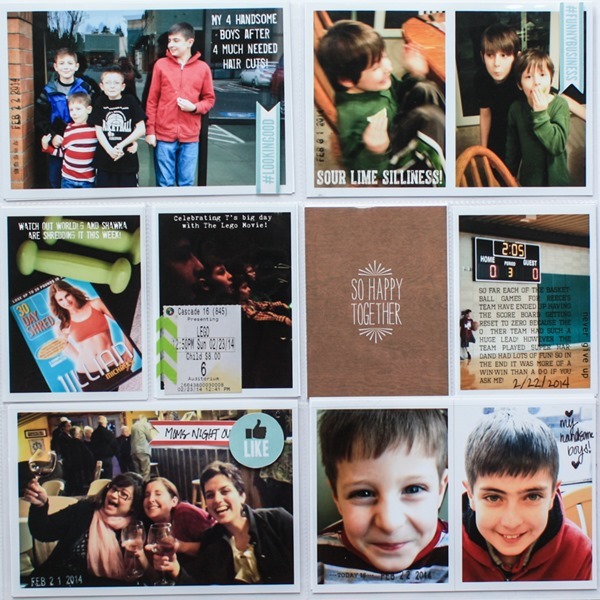
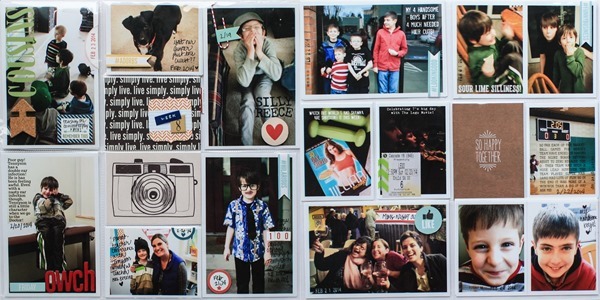
Week 8 is very mix and matchy again, here is the left:
The right:
And here is the full spread:
Left page journal cards are from me (see my mix and match sets!) and the card on the right is from Gina Cabrera’s Foxtastic set.
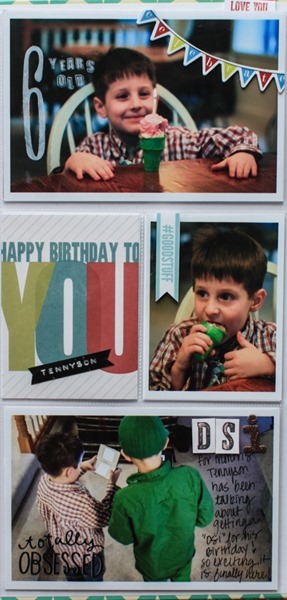
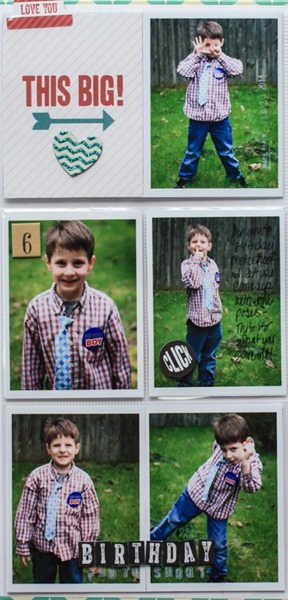
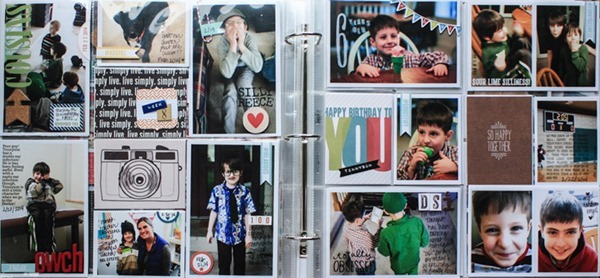
Week 8 was Tennyson’s Birthday week so too I made my first insert page! (this is both sides laid out side by side).
So fun! This gave me the chance to FINALLY print out my facebook blog train freebie “A Very Manly Birthday” too! If you haven’t seen it yet, it’s still up on my facebook page for a while! Inserts are awesomely fun because you they come together so quickly! You can see I printed out some more of my “A Little Bit of This” collection for this one too 🙂 I use it more than just a little bit I guess!
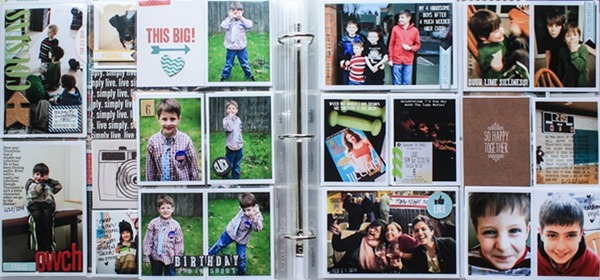
Since I had a few scrapper friends asking about the whole insert thing and how it would look placed sitting in the middle of a normal spread – so I took a picture of that too:
and the insert flipped to the other side:
I think personally I’m a fan of it – it adds to the whole eclectic full feeling of the layout which is kinda the style I find myself drawn toward in Project Life.
So, what are my lessons learned for my Februray pages of project life?? Well, here is what I can tell you after finishing month 2:
- Don’t be afraid of the sharpie – REALLY! I tried to just be bold and write stuff with out obsessing and with out being scared to death I’m going to ruin something – the beauty of owning a printer is that I can always print out a journal card or even a photo again, so just mark it up and embrace your handwriting!
- If you want to make your life easier when it comes to choosing journal cards – just use a kit or a journal card set already put together – my snow day and valentines spreads were super simple to pull together because I just grabbed those cards from my A Happy Family collections with Traci.
- Don’t be afraid of Photoshop – haha, that is a funny lesson for a designer to have to learn! I have been using Lightroom to sort, edit, and prep my photos for printing. It saves me LOADS of time – but this month I decided to open up a few of the photos (already sized and bordered for printing) and just add a bit of journaling text – if I have a lot to say, or I want something to look interesting typing it on there is a great, easy way to do it quickly, it also really only takes a few extra minutes and it would probably take twice as much time to journal after it is printed out, or to type it out on paper and cut into strips for my page.
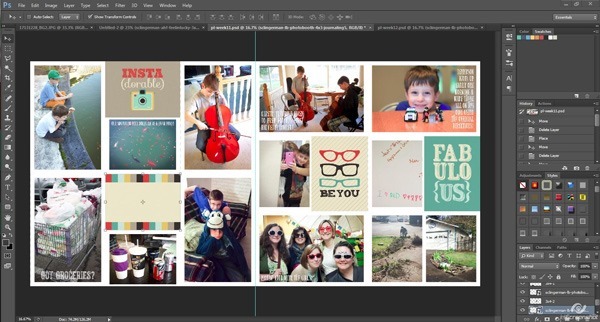
- For my March spreads I actually started taking it a step further and laid out my whole canvas in PS before printing anything, just to help me visualize things and to visually plan things before I have it all printed out, my March pages aren’t completely finished, but I have everything planned and printed, including any typed journaling on cards or photos. Here is a little peek, I’ll have to do a more involved post about my process after I’ve perfected this:
- Last lesson of the month – it’s OK to be a little be behind! This is a freeing lesson! As long as I have my photos saved and my journaling notes written down it is super easy to finish the rest of it whenever. I am loving my paper scrappy time, so this has been the perfect escape for me when I need a break from my screen! If I have my photos printed up (and maybe even my journal cards ready too), I can hunker down at my craft table and stamp and glue and embellish my heart out <3
That’s that! I’m currently plugging away at embellishing my March layouts now. I will tell you something though – I think I may need to get started on “A Little Bit of That” for my next printable elements set – because I can’t stop using the first set!
Thanks for reading my novel and for checking out my project life layouts! Are you scrapping along with me this year?? What lessons have you learned so far??
Great tips, Shawna! I love seeing all your PL LO’s here, and how each is unique and special in its own right! Keep rockin it, girl!